Learn how to start urban worm composting in any apartment — no yard required. Step-by-step setup, what to feed your worms, and how to avoid common mistakes.
Most composting advice assumes you have outdoor space. If you live in an apartment, you’ve probably scrolled past piles of advice that simply doesn’t apply to you. Vermicomposting — composting with worms — is the exception. A properly managed worm bin fits under a kitchen sink, inside a cabinet, or in a closet corner. It processes your food scraps continuously, produces no meaningful odor when run correctly, and doesn’t require any outdoor access at all.
Urban composting has grown steadily as more city residents look for ways to reduce the food waste they send to landfills. Food scraps in landfills break down anaerobically and release methane, a potent greenhouse gas. Diverting even a fraction of that waste into a home worm bin makes a genuine difference, and it rewards you with worm castings — one of the most nutrient-dense soil amendments you can put on houseplants or a balcony garden. The barrier to entry is low, the ongoing effort is minimal, and the payoff is real.
A standard starter bin is roughly the size of a large storage tote. It slides under a sink, sits in a cabinet, or tucks into a closet — no outdoor space needed.
A balanced, well-maintained worm bin smells earthy at most. Neighbors, roommates, and landlords won’t notice it’s there.
Worm castings are a premium soil amendment packed with beneficial microbes and plant-available nutrients. Your houseplants and container garden will show the difference.
A healthy bin can process several pounds of food scraps per week, keeping that waste out of the landfill and your trash can smelling fresher.
After the initial bin and worm purchase, vermicomposting costs almost nothing. Bedding comes from cardboard and paper you already have.
Unlike outdoor compost that stalls in winter, a worm bin kept at room temperature produces castings every season.
A commercial flow-through bin (like a Worm Factory or VermiHut) or a DIY opaque plastic storage tote with drainage holes works well. Aim for at least 8–10 gallons of volume for a single-person household.
These are the composting species — not earthworms from your garden. Start with half a pound to one pound of red wigglers, sourced from a reputable worm supplier or local vermicomposter.
Shredded cardboard, torn newspaper, coco coir, or a mix of all three. Bedding provides carbon, moisture retention, and aeration. You’ll need enough to fill roughly two-thirds of the bin at setup.
Bedding should feel like a wrung-out sponge — damp but not dripping. Use tap water that has sat out for an hour, or filtered water, to off-gas any chlorine.
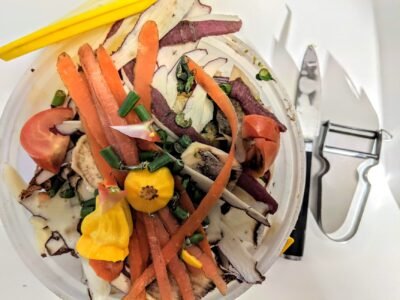
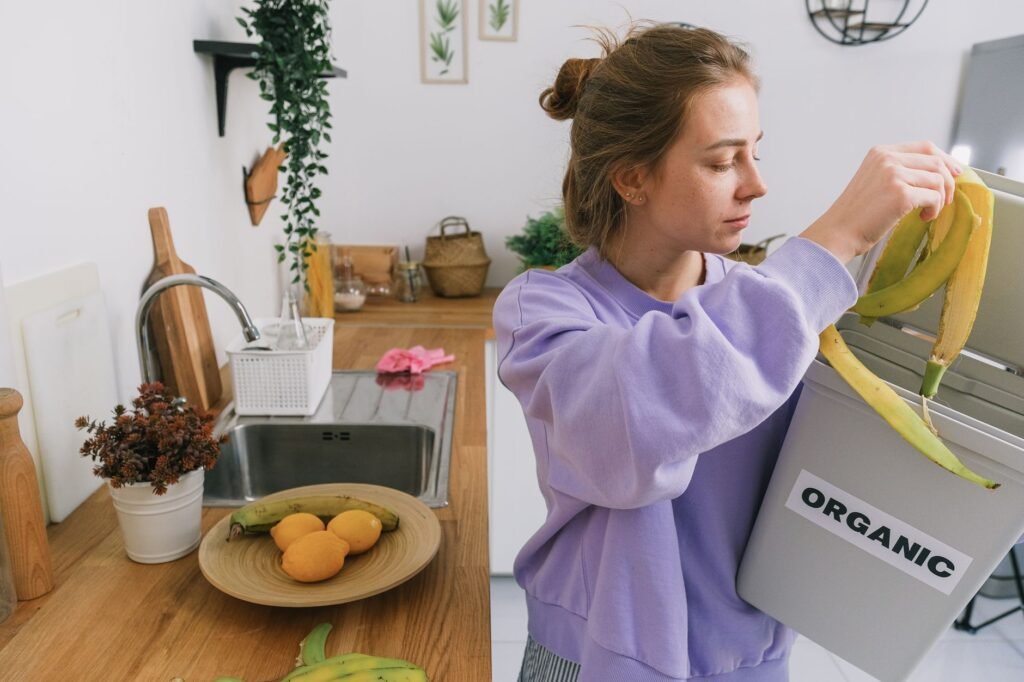
Fruit and vegetable peels, coffee grounds, tea bags, and crushed eggshells are ideal starter foods. Keep a small countertop container to collect scraps before adding them to the bin.
Not required — worm bins are not unsanitary — but useful if you prefer to keep your hands clean while harvesting castings or burying food.
If you’re using a DIY tote, drill 10–15 small holes (about 1/8 inch) in the bottom for drainage and air circulation, and a similar number in the lid. Place the bin on a tray or inside a second tote to catch any leachate. Commercial bins usually come pre-drilled and include a collection tray.
Shred cardboard and paper into strips roughly one to two inches wide. Soak the shreds in water, then squeeze out the excess so they’re damp but not wet. Fill the bin about two-thirds full. Add a small handful of finished compost or garden soil — this introduces microbes and provides grit to help worms digest food.
Open the worm package directly into the bin. Leave the lid off or place it loosely for the first few hours with a light source nearby — worms dislike light and will burrow into the bedding on their own rather than trying to escape. Once they’ve settled in (usually within a few hours), secure the lid.
Wait 24–48 hours before feeding so worms can acclimate to their new environment. Start small — a cup or two of scraps buried under the bedding in one corner of the bin. Burying food prevents fruit flies and odors. Chop or freeze-then-thaw scraps to speed up decomposition.
Red wigglers thrive between 55°F and 77°F (13°C–25°C). A kitchen cabinet, closet shelf, or space under the bathroom sink all work. Avoid spots near heating vents, direct sunlight, or areas that drop below 50°F. Room temperature in a typical apartment is usually ideal year-round.
Feed your worms every two to three days in the beginning, rotating feeding spots around the bin so worms follow the food and the whole bin stays active. As the population grows over the first month, you can increase the amount you add. A healthy pound of worms can process roughly half a pound of food scraps per day at peak activity.
After two to three months, you’ll see dark, earthy castings accumulating. To harvest, stop adding food to one side of the bin for two weeks — worms will migrate toward the food-rich side. Scoop out the casting-dense side, let it sit briefly in light so remaining worms crawl deeper, then pick them out and return them. Mix a tablespoon of castings into potting soil or brew it into a liquid fertilizer.
What goes into your bin directly determines how well it performs. Worms are not garbage disposals — some foods accelerate decomposition and keep the bin balanced, while others cause odor, pests, or harm to the worms themselves.
The two complaints most new vermicomposters have are odor and fruit flies. Both are almost always caused by the same thing: food sitting exposed on the surface of the bin. Always bury scraps under at least two inches of bedding, and add a fresh layer of shredded cardboard on top after every feeding. If the bin smells sour or like ammonia, you’re likely overfeeding or the bin is too wet. Back off on food additions for a week, add dry bedding material, and increase airflow by propping the lid slightly. The smell will correct itself within days.
Fruit flies are a nuisance rather than a sign of a failing bin. If they appear, cover all exposed food immediately, place a piece of cardboard soaked in apple cider vinegar near (not in) the bin as a trap, and consider freezing your scraps before adding them — this kills fly eggs that may be on fruit peels. Worms escaping the bin is another early concern for beginners. Worms leave when conditions are wrong: the bin is too wet, too dry, too acidic, or freshly set up and the worms haven’t acclimated yet. Check moisture levels first — if you squeeze a handful of bedding and more than a few drops of water come out, it’s too wet. Add dry cardboard and give the worms a day to settle.
A correctly managed bin smells like fresh soil or forest floor — earthy and mild. Bad odors only develop when the bin is overloaded with food, too wet, or contains items like meat or dairy that you should never add. Stick to the feeding guidelines, always bury scraps, and keep the moisture balanced, and odor won’t be an issue.
Half a pound to one pound of red wigglers is the standard starting amount for a single-person or two-person household. This gives you roughly 500–1,000 worms. The population will naturally grow or shrink to match the food supply you provide, so you don’t need to overthink the exact starting number.
Yes. A well-established worm bin can go one to two weeks without feeding as long as it has adequate bedding and moisture. Before you leave, give the bin a slightly larger feeding than usual, add extra damp bedding on top, and make sure the lid has proper ventilation. For trips longer than two weeks, ask a friend to add scraps once or twice while you’re away.
Castings are excellent for houseplants and container gardens. Mix one part castings with four parts potting mix when repotting, or sprinkle a thin layer on top of the soil and water it in. You can also steep a tablespoon of castings in a liter of water for 24 hours to make a liquid fertilizer. If you produce more than your plants need, many urban gardeners, community gardens, and plant-loving neighbors will gladly take them.
Most leases don’t address vermicomposting specifically, and a properly maintained indoor bin is clean, odorless, and self-contained — there’s nothing to trigger a lease violation. If you’re concerned, a small bin kept inside a cabinet is completely discreet. Some cities and municipalities actually encourage home composting and offer rebates on bin purchases, so it’s worth checking your local government’s waste reduction programs.
Everything you need to get started with vermicomposting.
Share tips, ask questions and learn from thousands of worm lovers!
Join Community