Learn how to keep your worm bin thriving through winter. This beginner's guide covers insulation, feeding, indoor setups, and cold-weather worm care tips.
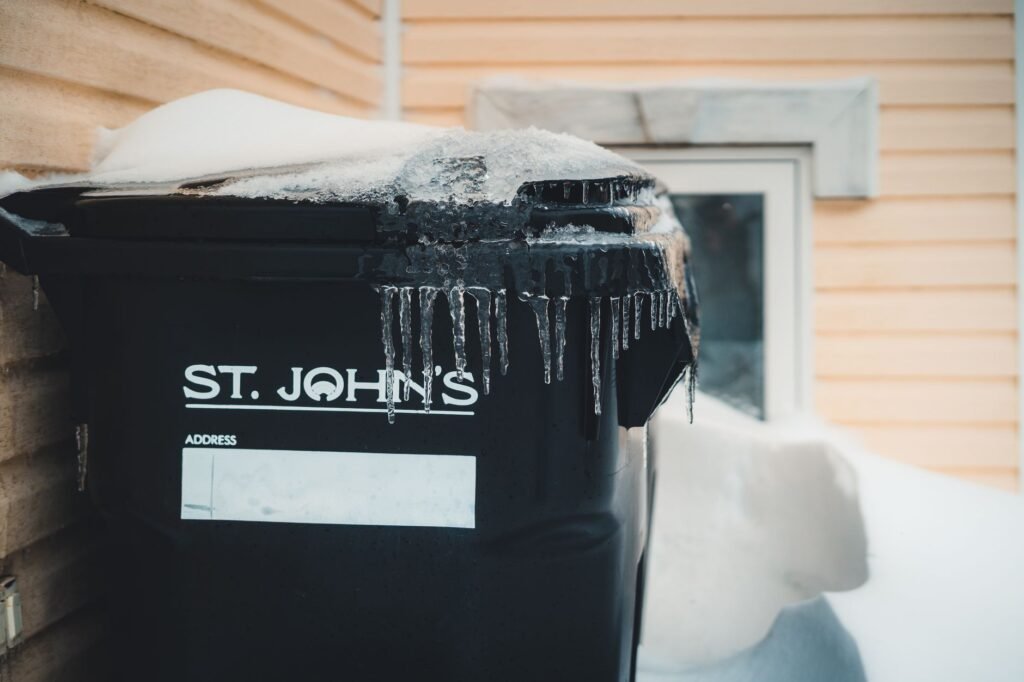
Red wigglers (Eisenia fetida) — the worms used in most home vermicomposting setups — are not built for the cold. Their ideal temperature range is roughly 55°F to 77°F (13°C to 25°C). Once temperatures drop below 50°F (10°C), their metabolism slows dramatically. Below 40°F (4°C), they can die. If you live somewhere that sees freezing winters and your bin is sitting in an unheated garage or on a back porch, your worms are in real danger from around October through March.
The good news is that winter vermicomposting is completely manageable once you understand what your worms actually need. You have two main options: move the bin indoors, or insulate it well enough to survive outside. Most beginners find that bringing the bin inside is far easier and more reliable. Either way, a few targeted adjustments to your setup and feeding habits will keep your worms productive even when there’s snow on the ground.
Your kitchen still produces food scraps all winter. Without a worm bin, those scraps go straight to landfill where they produce methane. Keeping the bin running means your waste reduction continues year-round.
If you keep feeding through winter, you’ll have a full harvest of rich worm castings ready to use the moment your garden wakes up in spring — right when you need it most.
A pound of red wigglers costs $30–$50 or more. Letting them freeze is an expensive mistake. Keeping them alive costs almost nothing compared to replacing them.
A well-maintained indoor bin doesn’t slow down at all in winter. Your worm population can actually grow through the cold months, leaving you with more composting power come spring.
Vermicomposting works best as a consistent routine. Pushing through winter keeps your habits sharp and your bin balanced, so you’re never starting from scratch.
Moving your bin indoors is the simplest solution for most beginners. A well-maintained worm bin kept at the right moisture level and fed properly produces very little odor — it should smell earthy at most, not unpleasant. Suitable indoor spots include a basement, utility room, under a kitchen sink, or inside a closet. Avoid placing the bin near heating vents or radiators, since temperatures above 85°F (29°C) are just as dangerous as freezing cold. A basement corner that stays between 60°F and 70°F is close to ideal.
If bringing the bin inside is genuinely not an option — maybe you live in a small apartment, or a family member has objections — you can attempt outdoor winter composting in milder climates (zones 7 and above) with heavy insulation. In colder climates, outdoor overwintering is risky and not recommended for beginners. For outdoor attempts, the strategy is to slow the worms down intentionally: stop feeding about two weeks before the first hard freeze, add a thick layer of dry bedding, and wrap the bin in insulating materials. Understand that you may lose a portion of your population regardless. If you’re in a region with harsh winters, indoor housing is simply the right call.
Plastic tote bins lose heat quickly. If you’re keeping the bin outdoors in a mild climate, use a styrofoam-lined bin or place your plastic bin inside a larger container packed with insulating material like straw or crumpled newspaper.
You cannot reliably judge the internal temperature of your bin by feel. A simple compost thermometer ($10–$20) lets you check the core temperature and catch dangerous drops before your worms are harmed.
Shredded cardboard, dry fall leaves, or coco coir provide insulation within the bin itself and help regulate moisture. In winter, you’ll want a thicker bedding layer than usual — at least 4 to 6 inches on top of the active zone.
In a cold bin, large food deposits can sit and rot before worms process them. Pre-chop or freeze-then-thaw your scraps to speed breakdown, and add smaller amounts more often rather than large weekly dumps.
Heated indoor air is drier than outdoor air. Your bin can dry out faster in winter when kept near a furnace or heat source. A spray bottle lets you mist the bedding lightly to maintain the right damp-sponge moisture level.
For checking bin conditions and turning bedding without disturbing worms more than necessary. In winter, you want to minimize how long the bin is open, especially if it’s in a cold space.
Insert a compost thermometer into the center of your bin. If it reads below 55°F, your worms are already slowing down and you need to act. Don’t wait until you find dead or escaped worms to take the temperature seriously. Make this a weekly habit from September onward if you live in a cold climate.
Pick an indoor spot that stays between 55°F and 75°F consistently. A basement, laundry room, or insulated garage (if it stays above 50°F) all work well. Place the bin on a piece of cardboard or a tray to catch any leachate and to protect the floor. Let the bin settle for 48 hours before resuming normal feeding so the worms can adjust.
Top the bin with 4 to 6 inches of moist shredded cardboard or coco coir. This acts as insulation and gives worms a place to retreat if the surface gets too cold or dry. Bury food scraps under this layer rather than leaving them on top, which also reduces any odor.
Even in a warm indoor bin, worms may eat slightly less in winter simply because the days are shorter and the bin environment is different. Start by reducing your usual feeding amount by about 25% and watch how quickly scraps disappear. If food is still visible after five to seven days, cut back further. Overfeeding in winter is one of the most common causes of bin problems — rotting food attracts pests and creates odor.
Freeze your kitchen scraps and then let them thaw before adding them to the bin. Freezing breaks down cell walls, making food much easier for worms to process. You can also chop scraps finely or blend them into a slurry for the fastest breakdown. This is especially helpful when worm activity is lower than usual.
Squeeze a handful of bedding — it should feel like a wrung-out sponge, damp but not dripping. Indoor heating can dry the bin out faster than you expect. If the bedding feels dry or crumbly, mist it lightly with dechlorinated water. If it’s soggy and you can squeeze out water easily, add dry shredded cardboard and hold off on watering.
Gently dig into the bin to observe worm activity and condition. Healthy red wigglers are reddish-pink, active when disturbed, and numerous. If you see very few worms, lots of uneaten food, or a sour smell, something is off — check temperature, moisture, and pH. A small handful of agricultural lime or crushed eggshells can help if the bin has become acidic from overfeeding.
Winter feeding is mostly the same as any other season, but a few adjustments help your bin stay balanced when worm activity is naturally a bit lower. Here’s a quick reference for what works well and what to skip.
A sluggish bin in winter usually comes down to one of three things: it’s too cold, it’s been overfed, or the moisture is wrong. Start with temperature — if the core of the bin is below 55°F, the worms are simply slowing down to survive and there’s no quick fix other than moving the bin somewhere warmer. A small seedling heat mat placed under one side of the bin (not under the whole base) can gently raise the temperature a few degrees without overheating the worms. Leave one side unheated so worms can self-regulate.
If the bin smells sour or like ammonia, you’ve almost certainly overfed it. Remove any visible rotting food, add a generous layer of dry shredded cardboard, and skip feeding for a full week. The smell should clear within a few days as the worms catch up. A foul-smelling bin indoors is unpleasant and unnecessary — it’s almost always a sign of too much food or too much moisture, both of which are easy to fix once you identify the cause. Don’t panic and don’t dump the whole bin. Worm bins are resilient systems and they recover quickly when you address the root problem.
In mild climates (USDA zone 7 and warmer, where temperatures rarely drop below 20°F), heavy insulation — straw bales around the bin, thick bedding inside, and a weatherproof cover — can protect worms through winter. In colder climates, this is too risky for beginners. Even with insulation, a sustained hard freeze can kill your entire population overnight. If you have any doubt, bring the bin inside.
A healthy, well-managed worm bin has a mild earthy smell — similar to garden soil — that most people find inoffensive. Strong or unpleasant odors are a sign of overfeeding, too much moisture, or the wrong foods. Fix those issues and the smell goes away. Most people keep indoor bins in basements or utility rooms without any complaints. Avoid placing the bin in a bedroom or main living area just in case you’re still dialing in your management.
Start by feeding every 5 to 7 days and adjusting based on how quickly food disappears. If scraps are still visible after a week, wait longer before the next feeding. In a warm indoor bin (65°F–70°F), worms may process food at nearly the same rate as summer. In a cooler bin (55°F–60°F), they’ll be noticeably slower. Let the bin tell you when it’s ready for more food rather than feeding on a fixed schedule.
Worms escape when conditions inside the bin are worse than conditions outside. Common causes include: the bin is too wet, too acidic from overfeeding, too hot from a nearby heat source, or there’s been a sudden environmental change like a move to a new location. Check temperature and moisture first. If you just moved the bin indoors, give the worms 24 to 48 hours to settle — some surface wandering is normal during the adjustment period. Make sure the bin lid is on and light is present, since red wigglers avoid light and will retreat into the bedding.
The harvesting process is the same in winter as any other time of year. The most beginner-friendly method is the migration method: push all the finished compost to one side of the bin, add fresh bedding and food to the empty side, and wait two to three weeks for worms to migrate over. Then harvest the finished side. In a warm indoor bin, this works just as well in January as in July. Allow slightly more migration time if your bin is on the cooler end of the acceptable range.
Everything you need to get started with vermicomposting.
Share tips, ask questions and learn from thousands of worm lovers!
Join Community