Fall worm bin care done right keeps your worms alive and productive all winter. Use these 5 proven tips to protect your bin before temperatures drop.
Fall worm bin care is the single most neglected seasonal task among home vermicomposters — and it shows every February when panicked emails start pouring into forums about bins that went silent over winter. The good news is that red wigglers (Eisenia fetida) are surprisingly resilient if you give them a little help before the cold truly sets in.
Worms don’t hibernate, but their metabolism slows dramatically below 50°F (10°C) and nearly stops below 40°F (4°C). That means decomposition slows, castings production drops, and a bin that was humming along in September can become a stagnant, anaerobic mess by November if you don’t adjust your approach. The five tips below are drawn from years of keeping bins through harsh winters — including the mistakes that came with learning them.
Spring gets all the attention in gardening circles, but fall is actually the season that determines whether your worm population survives to see it. Temperature swings in September and October are unpredictable — a 70°F afternoon can be followed by a 38°F night, and worms caught in an outdoor bin during that kind of drop have nowhere to go. Unlike soil-dwelling earthworms, red wigglers live near the surface and can’t burrow deep enough to escape the cold.
The other underappreciated fall hazard is moisture imbalance. As leaves fall and rain increases in many regions, outdoor bins can get waterlogged quickly. Excess moisture drives out oxygen, and an anaerobic bin produces hydrogen sulfide — that rotten-egg smell that tells you something has gone seriously wrong. Addressing both temperature and moisture before the season turns is the foundation of good fall worm bin care.

Don’t wait for a frost warning. In most of the northern US and Canada, nighttime temperatures start brushing 50°F in early to mid-October. That’s your trigger. If the bin is going indoors, a basement, garage, or mudroom that stays above 50°F is ideal. If moving it isn’t practical, wrap the outside with old sleeping bags, rigid foam insulation boards (R-10 or better), or even bales of straw. A 2-inch foam wrap can hold bin temps 15–20°F above ambient on a cold night. Check the internal temperature with a probe thermometer weekly — not the outside air, the actual bedding.
This is the tip most people skip, and it causes the most problems. Worms eat roughly their body weight in food per day at 77°F, but that rate can drop by 60–70% at 55°F. If you keep feeding at summer rates, food piles up, molds aggressively, and acidic leachate builds up in the bin. In October, cut back to feeding every 5–7 days instead of every 2–3. By November, once a week or even every 10 days is plenty for a bin kept in a cool garage. Smaller portions — a cup or two at a time rather than a full pound — are better than large dumps.
Pull back the top of your existing bedding and add 3–4 inches of fresh, dry material: shredded corrugated cardboard, torn newspaper, coco coir, or straw all work well. This layer does two things. First, it traps warmth generated by worm activity and microbial decomposition — a healthy worm bin generates a small but real amount of heat. Second, it absorbs excess moisture before it can turn the lower layers anaerobic. Replace this top layer every 3–4 weeks through the winter, or whenever it starts to look compressed and wet.
A common mistake is waiting until spring to harvest finished castings. But a bin packed with dense, finished castings has poor airflow and holds cold much more effectively than one with loose, active bedding. Harvest in September or early October while it’s still warm enough to work comfortably outside. Remove the bottom third of the bin where castings are most finished, set the worms and active material back in, and refill with fresh bedding. You’ll go into winter with a lighter, better-aerated bin — and a pile of finished castings ready to amend your garden beds before the ground freezes.
The squeeze test still applies in fall: grab a handful of bedding and squeeze hard. You want just a few drops of water, not a stream. In an outdoor bin exposed to fall rains, you may need to cover the bin with a tarp or add dry bedding to absorb excess moisture. In an indoor bin in a heated space, the opposite problem is more common — central heating dries bedding out faster than you’d expect. A light misting with a spray bottle every week or two may be all it takes. Either extreme — too wet or too dry — stresses worms that are already working harder to regulate their temperature.
A bin that stays above 50°F through winter maintains an active worm population, so you’re not starting over from scratch — or from a mail-order pound of worms — every spring.
Even at reduced rates, a properly insulated fall and winter bin keeps producing vermicastings. By March you’ll have several pounds ready to top-dress seedlings or amend raised beds.
Replacing a healthy worm population costs $30–$60 for a pound of red wigglers, plus shipping. A few dollars of foam insulation or a bag of cardboard bedding is a much better investment.
Even at half the summer feeding rate, your bin keeps kitchen waste out of the landfill through the colder months — a habit that’s much easier to maintain than restarting in spring.
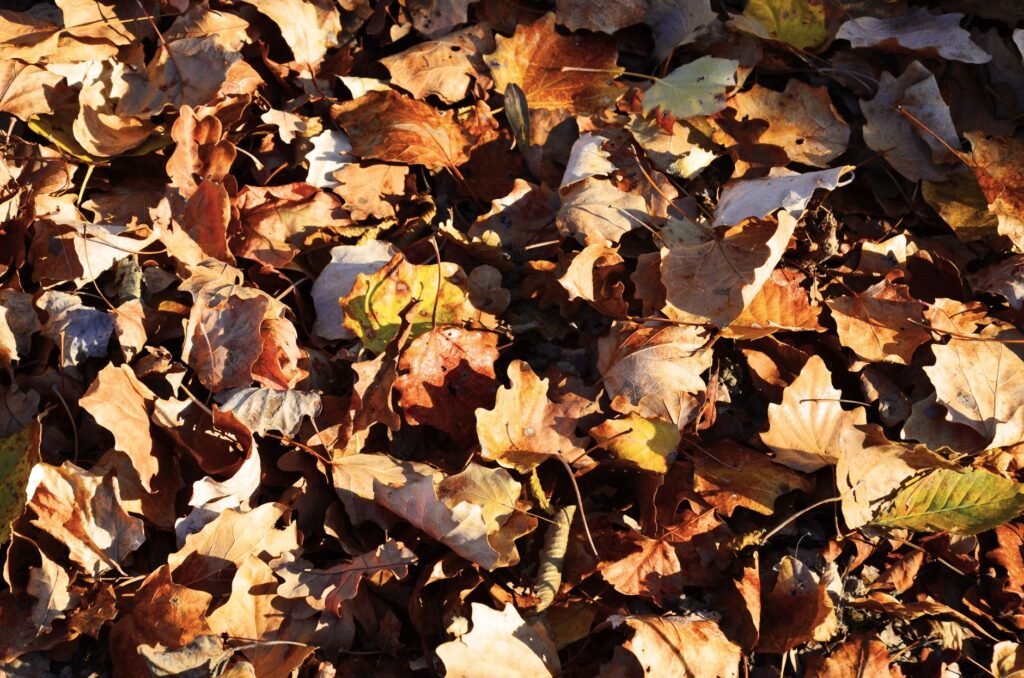
Shredded fall leaves make excellent carbon-rich bedding. Running them over with a lawn mower first speeds breakdown and gives you an essentially free insulating material right when you need it most.
Feeding choices matter more in fall than any other season. Cold slows microbial breakdown, so problematic foods that a summer bin handles easily can cause real trouble in October. Stick to foods that break down quickly and don’t require a lot of microbial heat to process.
A 6–8 inch probe thermometer (around $12–$20) lets you check the actual temperature inside the worm zone, not just the ambient air. This is the only reliable way to know if your insulation is working.
Half-inch to 1-inch foam boards from any hardware store can be cut to fit around the sides and lid of a plastic worm bin. R-10 or higher is worth the extra cost for outdoor bins in cold climates.
A simple 32-oz spray bottle lets you add moisture precisely without drowning a section of the bin. Tap water is fine — just let it sit for 30 minutes if your water is heavily chlorinated.
The best free bedding material available in fall. Shred cardboard into 1-inch strips, or run dry leaves through a mower. Either works as both insulation and carbon source for the worm zone.
Weighing your food additions — even just for a few weeks — helps you calibrate the reduced fall feeding rate. Aim for roughly half your summer feeding weight per session.
Not glamorous, but harvesting castings and turning bedding in cold weather is much more pleasant with a pair of waterproof gloves. Cold, wet hands are the reason most people rush the job and do it badly.
Here’s the mistake I made in my second year of vermicomposting: I assumed that because worms live in the ground, they must be fine outdoors in winter. They’re not — at least not red wigglers. Eisenia fetida is a surface-dwelling, compost-heap species that evolved in decomposing organic matter, not deep soil. They have no mechanism for surviving frozen conditions. A bin that hits 32°F will lose the majority of its population within 24–48 hours. The worms near the center of a large, active bin may survive a brief cold snap, but don’t count on it.
The other misconception is that a worm bin generates enough of its own heat to stay warm. A large, actively fed bin does produce some warmth through microbial activity — sometimes 5–10°F above ambient. But that’s not enough to save an outdoor bin during a hard freeze, and in fall, reduced feeding means reduced microbial activity means less self-generated heat. Proper fall worm bin care means supplementing that warmth with real insulation, not hoping the worms will keep themselves warm.
Red wigglers become noticeably less active below 55°F and essentially stop eating and reproducing below 50°F. Below 40°F, mortality begins — especially for younger worms and cocoons. The ideal range is 65–77°F. If your bin is going to sit in a space that drops below 50°F regularly, you need either insulation, a heat mat designed for reptile enclosures (set to low), or a warmer location.
It depends on your climate. In USDA zones 7 and warmer, an unheated garage rarely drops below 40°F, and a well-insulated bin should be fine. In zones 5 and 6, garage temps can hit the 20s on the coldest nights — you’ll need serious insulation or a supplemental heat source. In zones 4 and colder, move the bin inside. A basement or mudroom that stays above 45°F is the safest bet.
No — stopping entirely is usually worse than reducing. Worms still need food, just much less of it. A bin with no food additions can develop dry, compacted bedding and the worm population will decline from lack of nutrition. Cut feeding to once every 7–10 days, use small portions (half a cup to a cup for a standard 10-gallon bin), and bury food in the center of the bin where it’s warmest.
Add dry carbon material immediately — shredded cardboard is best because it absorbs moisture fast. Remove any obviously rotted, slimy food that hasn’t been touched. Fluff the bedding gently to introduce oxygen. If the smell is strongly sulfuric (rotten eggs), the bin has gone anaerobic and you may need to move half the material to a temporary container, let it air out for 24 hours, and recombine with fresh bedding. Check that drainage holes aren’t clogged.
Yes, meaningfully so. Outdoor bins face the obvious temperature risk, but indoor bins in heated homes face the opposite moisture problem — central heating drops indoor humidity significantly, and bedding can dry out within a week. For indoor bins, the main fall adjustment is checking moisture more frequently (every 5–7 days) and misting as needed. Feeding reduction still applies if your indoor space is cool, but a bin in a 68°F kitchen can continue at near-summer feeding rates.
Cocoons are more cold-tolerant than adult worms and can survive brief exposure to near-freezing temperatures, but they won’t hatch below about 50°F. A bin that gets very cold may lose its adult population but still have viable cocoons waiting for warmer conditions. This is why you might see a bin appear dead in winter but then show new small worms in spring — the cocoons survived. That said, don’t rely on this as a strategy; protecting adults is always the better approach.
The effort that goes into proper fall worm bin care is genuinely small compared to the payoff. We’re talking about an hour of setup in October — wrapping a bin, harvesting castings, adjusting your feeding schedule — and then a few minutes of monitoring every couple of weeks through the cold months. That’s it. In exchange, you get a living, productive system that’s ready to ramp back up the moment temperatures climb above 55°F, usually weeks before you can do anything else useful in the garden.
Think of fall as the season where you make decisions that either protect or abandon months of worm-building work. A population of healthy red wigglers that you’ve kept through winter is worth more than a fresh pound ordered in April — they’re already adapted to your local conditions, your feeding habits, and your bin’s microbiome. Good fall worm bin care isn’t just about survival; it’s about walking into spring with a head start.
Everything you need to get started with vermicomposting.
Share tips, ask questions and learn from thousands of worm lovers!
Join Community