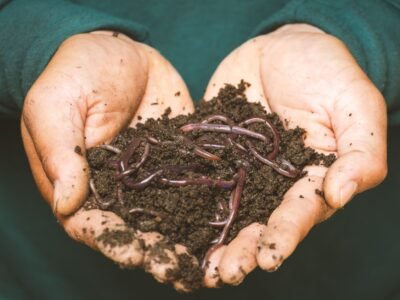
Worm bin tools make or break your first bin. Get the 5 must-have tools that save time, protect your worms, and help you harvest rich castings faster.
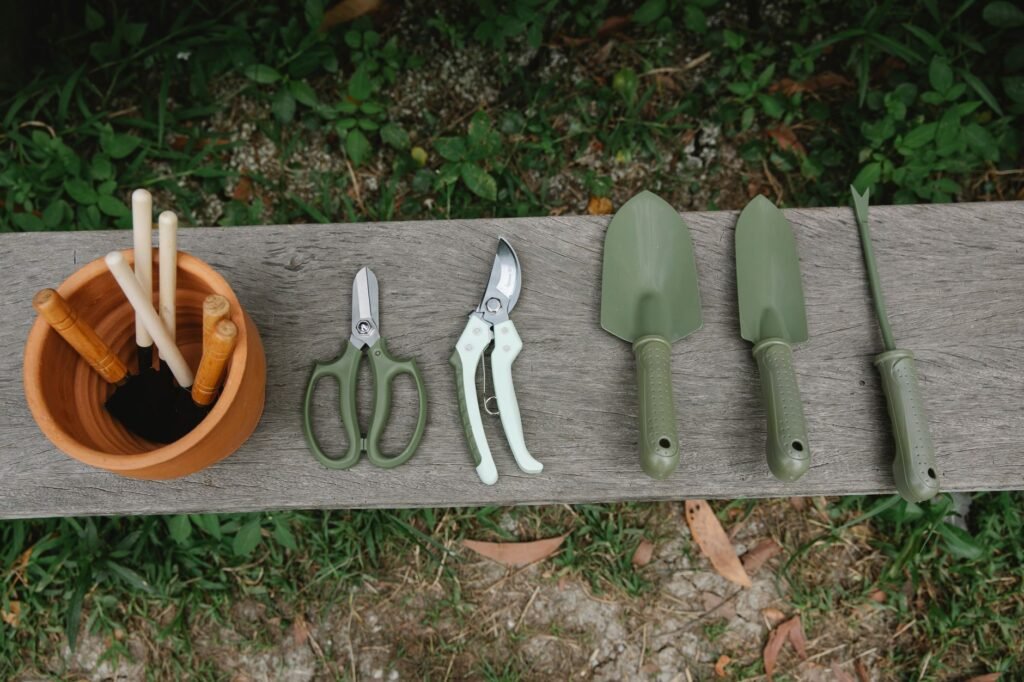
The right worm bin tools are the difference between a thriving bin you check on eagerly every few days and a soggy, smelly disaster you avoid opening. Most beginners assume the bin itself is the only purchase that matters — then they find themselves poking around with a kitchen spoon, guessing at moisture levels, and accidentally slicing worms in half when they try to harvest. That guesswork costs you worms, time, and castings.
You do not need a specialty catalog’s worth of gear. After years of maintaining multiple bins — including one spectacularly failed attempt using nothing but a butter knife and optimism — I’ve narrowed the real essentials down to five items. Each one solves a specific, recurring problem that catches new vermicomposters off guard. Total cost for all five runs between $25 and $50, and most of them will outlast several generations of worms.
Worms are tougher than they look, but they are completely at the mercy of their environment — and you control that environment with whatever is in your hand. Using the wrong tool at the wrong moment causes real harm. A flat garden trowel dragged through a mature bin will sever dozens of worms per pass. Pouring tap water straight from a jug creates anaerobic pockets that smell like a swamp within 48 hours. These are not edge cases; they are the exact mistakes that fill vermicomposting forums every week.
Good worm bin tools are not about convenience. They are about precision. Worms process bedding best at 70–80% moisture and between 55°F and 77°F. Without a way to measure those conditions, you are flying blind. The five tools below each give you a specific form of control or feedback that guesswork simply cannot replicate.
A basic two-probe moisture meter — the kind sold for houseplants — works perfectly for worm bins. Push both probes about 3 inches into the bedding and read the dial. You want a reading of 7–8 on a 1–10 scale, which corresponds to roughly 70–80% moisture. A $10–15 meter from any garden center is all you need. Check three spots per bin session because moisture is rarely uniform.
This small, claw-shaped garden tool is the single most useful item in your worm bin toolkit. The tines aerate compacted bedding, separate castings from unfinished material during harvest, and let you gently move worms without crushing them. Avoid the temptation to use a flat trowel — it acts like a blade. A stainless-steel cultivator with a comfortable grip handle runs about $8–12 and will last indefinitely.
When bedding dries out, the instinct is to pour water in. Do not do this. A direct pour creates wet zones and dry zones rather than even moisture, and a sudden flood can send worms fleeing to the lid in a panic. A 1-liter spray bottle set to a fine mist lets you add moisture gradually and evenly across the surface. Let it absorb for 10 minutes, then re-check with your moisture meter before adding more.
Overfeeding is the number-one beginner mistake, and it is entirely preventable with a $15 kitchen scale. The standard feeding guideline is half a pound of food scraps per pound of worms per day — though in practice, feeding every two to three days works better for most home bins. Weigh your scraps before you add them. After a few weeks you will develop an accurate eye, but until then the scale keeps you honest and your bin odor-free.
Worms shut down feeding below 50°F and begin dying above 84°F. A simple bi-metal probe thermometer — the same style used for meat — pushed 4 inches into the bedding gives you an accurate core temperature in about 30 seconds. This matters most in summer and winter, when ambient temperature swings can push your bin into danger zones without any obvious surface sign. A reliable probe thermometer costs $10–20 and can literally save your colony.
The tools only pay off if you use them in a consistent routine. I run through a quick three-minute check every time I open a bin: thermometer in first, moisture meter in three spots, then a light pass with the hand cultivator to check for dry pockets or compaction near the bottom. That sequence catches 90% of problems before they become crises. Bin day stops feeling like a chore and starts feeling like a quick health check.
Feed only after that check. Weigh your scraps on the kitchen scale, bury them in a different quadrant of the bin each session, and mist the surface if any meter reading came in below 6. The spray bottle comes out last, not first. This order — assess, then adjust — is the habit that separates people who harvest beautiful castings at 90 days from people who are still troubleshooting odors at 180.
Dip both probes into a glass of plain water. The needle should swing to 10 (fully wet). If it does not reach 9–10, the probes need cleaning — wipe them with fine steel wool. A miscalibrated meter gives you false confidence, which is worse than no meter at all.
Fill it with dechlorinated or filtered water and mark it clearly so no one in the household uses it for cleaning products. Chlorine and chemical residues harm worms even at low concentrations. If you use tap water, let it sit uncapped for 24 hours before filling the bottle to off-gas chlorine.
The biggest reason people skip their bin checks is friction — the worm bin tools are in the garage, the bin is in the kitchen, and the trip feels like too much. Keep everything within arm’s reach of the bin. A small hook or a repurposed pencil cup works fine. Out of sight genuinely means out of mind.
Before you add worms, take moisture and temperature readings of your prepared bedding. Bedding should read 7–8 on the moisture meter and sit between 65°F and 75°F. If it reads below 6, mist and wait 20 minutes before re-checking. Starting with correct conditions means your worms can begin feeding within 24–48 hours instead of spending a week just recovering from stress.
You do not need to weigh every feeding forever, but doing it for the first three sessions builds a visual reference that sticks. Half a pound of food scraps is smaller than most beginners expect — roughly the volume of a loosely packed coffee mug. Knowing that prevents the overfeeding spiral that turns bins anaerobic.
Consistent moisture and temperature readings mean your worms stay in their feeding zone rather than fleeing to the lid or burrowing to escape stress. Active worms process bedding two to three times faster than stressed ones.
Bins managed with proper tools typically reach harvestable castings in 60–90 days. Unmanaged bins often stall at 120–180 days because moisture imbalances and compaction slow decomposition to a crawl.
Losing a pound of worms to overheating or drowning means replacing them at $30–40 per pound. A $50 toolkit that prevents one colony loss pays for itself immediately and many times over.
Castings harvested from a well-managed bin are dark, earthy, and crumbly — ideal for seed starting and top-dressing. Castings from an erratic bin are often clumpy, partially finished, or contaminated with unprocessed food.
When you have data — actual moisture readings, actual temperatures — you can diagnose a problem in minutes rather than days. That early intervention is what keeps small issues from becoming full bin failures.
Not everything in your garage or kitchen drawer belongs near your worm bin. Here is a clear breakdown of what to reach for and what to leave on the shelf when maintaining your setup.
You can start with three: the moisture meter, the hand cultivator, and the spray bottle. Those three cover the most common beginner failures — wrong moisture, physical worm damage, and uneven watering. Add the kitchen scale before your second feeding session and the thermometer before your first summer or winter with the bin. Skipping the thermometer is fine in mild climates but genuinely dangerous if your bin lives in a garage or shed.
Yes, and it works well. A bi-metal probe thermometer — the kind with a long stem and a round dial face — is exactly what you want. Push it 4 inches into the bedding and wait 30 seconds for an accurate reading. Digital instant-read thermometers also work and are often faster. Avoid infrared surface thermometers; they only read the top layer, which can be several degrees different from the core where your worms actually live.
Take three readings — one near each side and one in the center — then act on the lowest reading. Dry pockets are more dangerous than wet ones in most home bins because dry bedding causes worms to cluster in wet zones and overload them. If readings vary by more than two points across the bin, you have a distribution problem worth fixing. Mist the dry areas specifically rather than the whole surface.
The hand cultivator. It is the one tool you use every single bin session, it prevents the most common physical harm to worms, and it costs under $12. A spray bottle is a close second because moisture mismanagement is the leading cause of bin failure, and a bottle costs $3–5. Buy those two first and add the moisture meter as soon as your budget allows.
Rinse them with plain water after each session and let them air dry before storing. You do not need soap or disinfectant — in fact, soap residue on a cultivator or thermometer probe can harm worms. If you run multiple bins, rinse between bins to avoid transferring pests or pathogens. Wipe moisture meter probes with a dry cloth after use to prevent corrosion on the metal contacts.
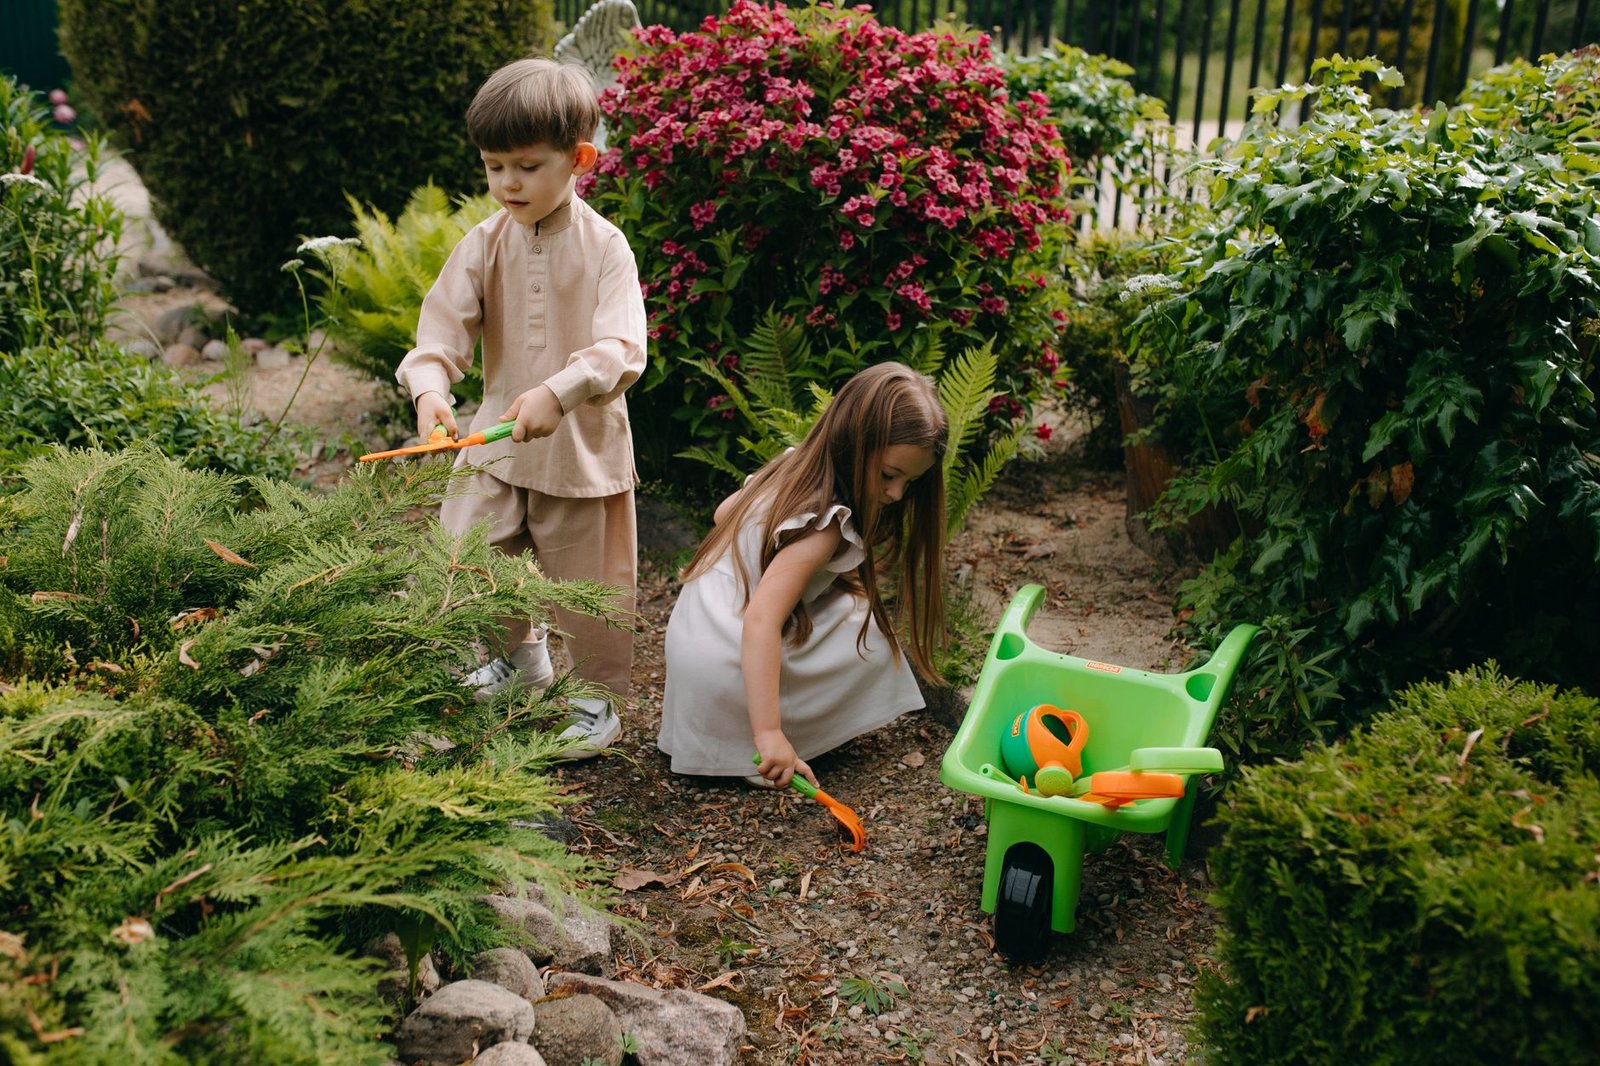
Absolutely, and vermicomposting is a great hands-on project for kids. The hand cultivator has tines rather than a blade, so it is much safer than a trowel or scissors. Supervise younger children with the thermometer probe, which has a sharp tip. Reading the moisture meter and spray bottle are tasks most kids aged 6 and up can handle independently, which makes them genuinely useful bin helpers rather than just observers.
Five tools, under $50 total, and you have everything you need to manage a worm bin with real confidence. The moisture meter and thermometer give you data. The hand cultivator gives you safe access. The spray bottle gives you control. The kitchen scale keeps feeding honest. Together, they form a complete feedback loop that catches problems early and keeps your worms processing at full speed. That is the entire system — no expensive gadgets, no specialty equipment, no guesswork.
The common misconception worth repeating one more time: worm bin tools are not optional extras for serious hobbyists. They are the basic infrastructure that makes vermicomposting actually work for beginners. Pick up the five items listed here before your worms arrive, run through a quick check on every bin day, and you will be harvesting dark, crumbly castings in 60–90 days rather than troubleshooting a struggling bin for six months. Your worms — and your garden — will show the difference.
Everything you need to get started with vermicomposting.
Share tips, ask questions and learn from thousands of worm lovers!
Join Community