

Knowing when your castings ready for harvest look, smell and feel right makes harvesting easier and gives you a better product. Harvest too early and your castings are full of half-eaten food and bedding. Leave it too long and worms end up living in dense, exhausted material that slows them down.
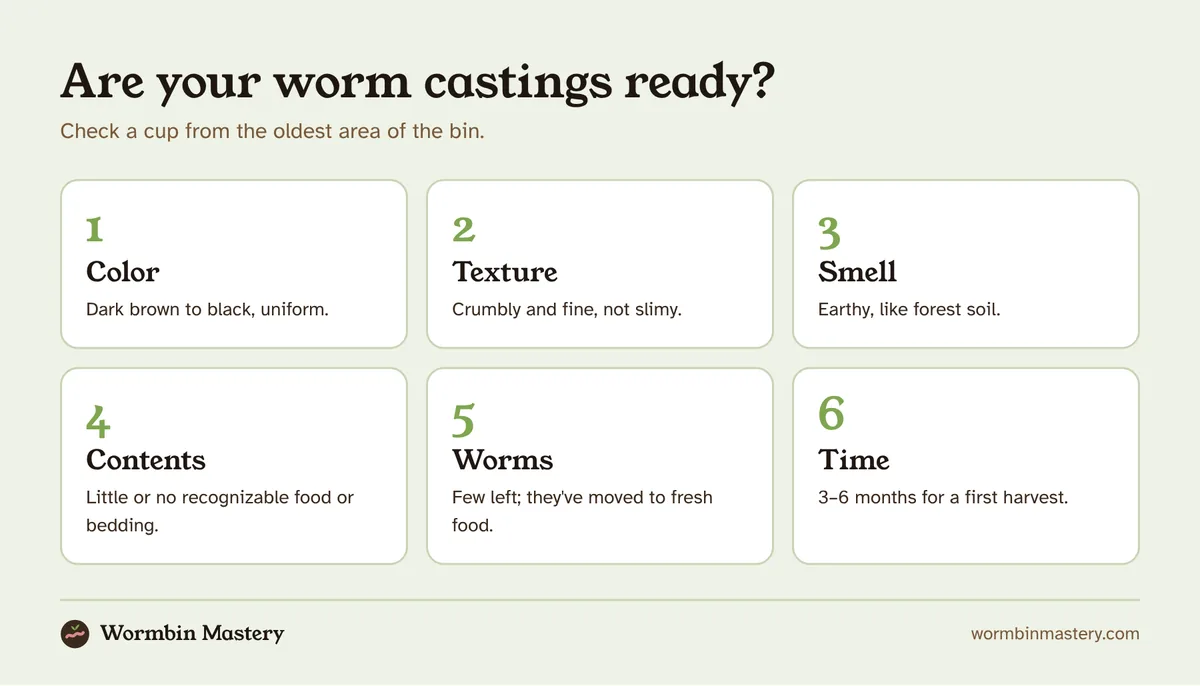
The good news is that finished castings are easy to recognize once you know what to look for. Here are the six clearest signs that castings are ready.
Quick answer
- Color: dark brown to black, uniform.
- Texture: crumbly and fine, like rich potting soil or coffee grounds.
- Smell: earthy, like a forest floor.
- Contents: little or no recognizable food or bedding.
- Worms: fewer worms in the finished area; they’ve moved toward fresh food.
- Time: usually 3–6 months after setup, then every 2–4 months.
6 signs your castings ready to harvest
1. Color
Finished castings are dark brown to black throughout. Patches of lighter brown or visible cardboard color mean bedding hasn’t fully broken down.
2. Texture
Rub a pinch between your fingers. Ready castings are crumbly, fine and slightly granular. They hold together when damp but break apart easily. Slimy or clumpy material isn’t finished.
3. Smell
Castings that are ready smell earthy and pleasant, like damp forest soil. Any sour, rotten or ammonia smell means it’s not ready, or the bin has a problem.
4. Few recognizable bits
You might see a few eggshell fragments, avocado skins or bits of corrugated cardboard, which break down slowly. Otherwise, there should be no recognizable food.
5. Fewer worms
Worms move toward fresh food. When an area is finished, worm numbers there drop noticeably. That’s a strong sign.
6. The bin has filled
When the bin is mostly dark material with only a thin layer of bedding and food on top, it’s time.
How long until castings ready? Typical timing
Most new bins are ready for a first harvest three to six months after setup. Warm, well-stocked bins fed small, soft food are at the fast end. Cool bins with fewer worms take longer. See how long does vermicomposting take for the full timeline.

 Related guideHow to Harvest Worm Castings: 4 Methods Compared
A simple test
Take a cup of material from the area you plan to harvest:
- Spread it on a sheet of paper.
- Look for recognizable food and bedding.
- Smell it.
- Squeeze it. It should crumble, not ooze.
- Count worms. A handful or fewer is a good sign.
If it passes, the area is ready.
What if it’s mostly ready?
Most bins are never 100% finished all at once. The oldest areas finish first. You can:
- Harvest the finished parts and leave the rest.
- Use side-to-side migration. Feed only one side for a few weeks; worms move over and the other side finishes.
- Screen to separate fine castings from unfinished pieces. See DIY worm castings screen.
Unfinished bits go back into the bin.
Castings ready but the bin isn’t?
Sometimes the bottom half of a bin is clearly finished while the top is still full of food. You don’t have to wait for the whole bin. Scoop the top active layer aside into a bucket, remove the finished castings from below, then put the active layer back on fresh bedding. Worms barely notice. This is often the quickest way to harvest a single tote.
Seasonal timing
Spring and early autumn are the best times to harvest. Temperatures are mild, so worms tolerate the disturbance, and castings are ready just when gardens need them for planting and fall feeding. Avoid harvesting during heatwaves or hard frosts, when worms are already stressed.
Risks of leaving castings too long
- Worms live in dense material with little food.
- Breeding slows and worms get smaller. See worms getting smaller.
- Bedding compacts and holds less air.
- Castings can become very dense and sticky.
Harvesting regularly keeps the colony healthy.
Ready to harvest?
Choose a method that suits your bin. Our how to harvest worm castings guide covers side-to-side, light, screening and tray methods. Then cure and store your castings. See how to store worm castings.
Signs castings are ready in tray and flow-through bins
- Stacking trays: the bottom tray is ready when worms have mostly moved up and the material is dark and uniform, usually a few months after the tray above was added.
- Flow-through bins: castings falling through the grid when you scrape are ready. If you pull down wet, unfinished material, stop.
Further reading: Oregon State University Extension’s Composting with Worms (EM 9034) describes finished castings, and the UConn Soil Nutrient Analysis Laboratory’s Vermicomposting fact sheet explains when castings ready for harvest look and smell finished.
Frequently asked questions
Can I use castings that aren’t fully finished?
Yes, in the garden. Mostly finished material with a few bits of bedding is fine as a mulch or soil amendment.
Do castings need to dry before use?
No. Damp castings are best for plants. Dry slightly only for storage.
How do I know if castings are bad?
A sour, rotten or ammonia smell. Let them cure in an open container until earthy.
Can I harvest too often?
Taking small amounts often is fine. Just leave enough bedding and worms for the colony to keep going.

