A wet worm bin is the most common problem in worm keeping, and one of the easiest to fix. If you’re seeing water at the bottom, a sour smell, worms crowding at the top or condensation raining from the lid, your bin needs drying out.
Signs your bin is too wet
- Water pooling in the base or dripping from drainage holes constantly
- Bedding that looks dark, matted and sticky
- A sour, rotten or “swampy” smell
- Worms on the walls or lid, especially just above the bedding
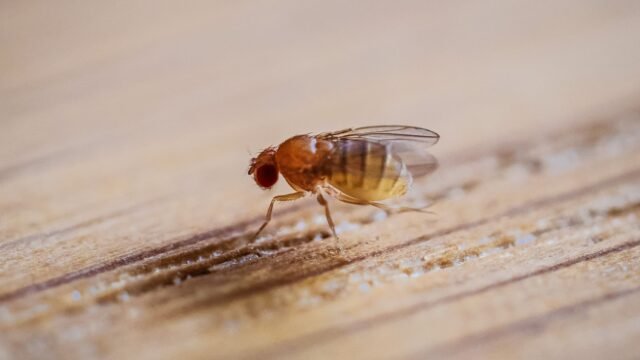
- Lots of fruit flies, fungus gnats or white mites
- Squeezing a handful of bedding produces a stream of water
That last one is the definitive test. Our moisture guide shows you how to do it.

Why bins get wet
Even if you never pour in water, bins get wetter over time:
- Fruit and vegetables are mostly water, and it’s released as they break down
- Worms and microbes produce moisture through respiration
- Plastic bins don’t breathe, so moisture can only leave through holes
- Castings hold more water than fresh bedding
- Overfeeding means more food rotting at once
A wet bin is usually a sign of too much food and not enough carbon.
 Related guideWorm Bin Smells Like Ammonia? Causes and a Quick Fix
How to fix a wet worm bin today
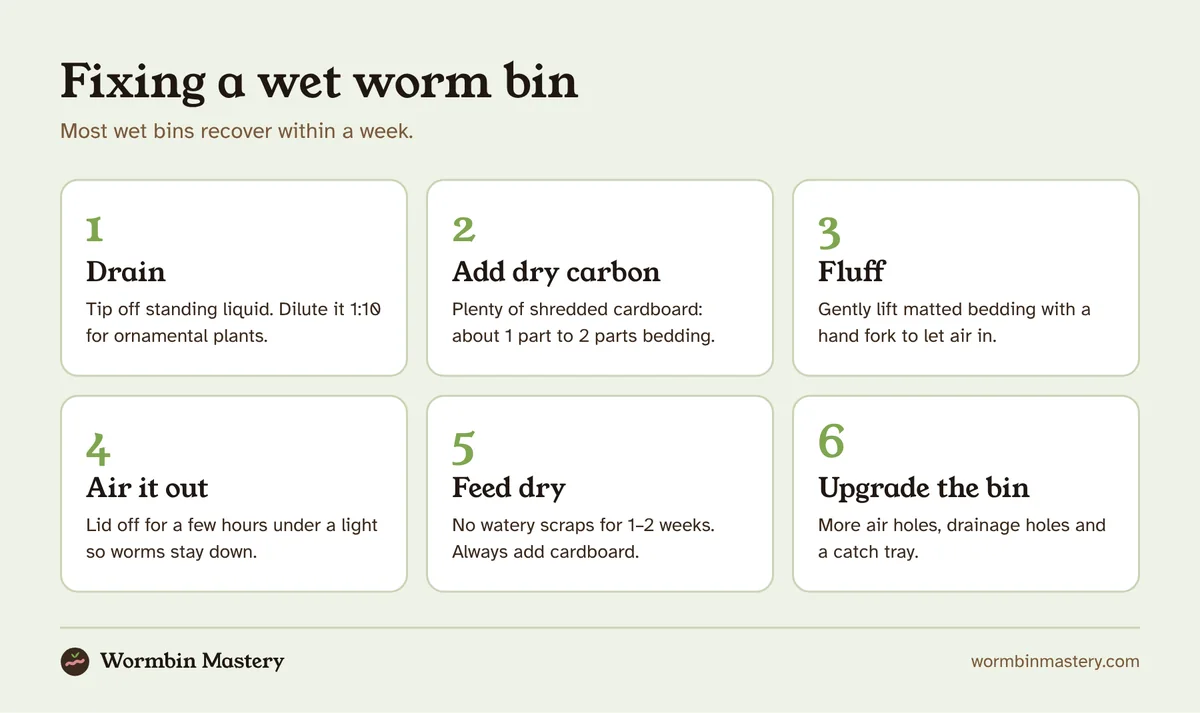
Step 1: Drain standing water
Tip off any liquid collected in the base or the catch tray. If the bin has no drainage holes, gently tilt it and pour off what you can, or soak it up with a sponge or old towel.
Use the liquid, called leachate, diluted about 1:10 with water on ornamental plants, or pour it onto an outdoor compost heap.
Step 2: Add dry carbon
This is the main fix. Mix in several generous handfuls of dry, shredded material:
- Plain cardboard: the best choice. It soaks up a lot of water and adds air pockets.
- Newspaper: works, but mats down. Crumple it loosely.
- Dry coconut coir: absorbs well. Add it dry, not soaked.
- Egg cartons: torn up, excellent.
Aim for roughly one part dry material to two parts existing bedding in a very wet bin. Don’t worry about overdoing it. Excess carbon is far less harmful than excess water.
Step 3: Fluff the bedding
Use a hand fork or your gloved hands to gently lift and loosen matted areas. You’re letting air back in, not stirring vigorously.
Step 4: Air it out
Leave the lid off for a few hours with a light overhead so worms stay down. In a very wet bin, prop the lid open slightly overnight too.
Step 5: Stop feeding watery food
Skip melon, cucumber, lettuce and other high-water scraps for a week or two. If you feed at all, give small amounts of drier food like bread crusts, oats or banana peels mixed with cardboard.
Fixes for the bin itself
Add more air holes
Drill extra ⅛ inch (3 mm) holes around the top of the bin and across the lid. More airflow means more evaporation.
Add or enlarge drainage holes
A bin with no drainage traps every drop. Drill ¼ inch (6 mm) holes in the base and set the bin over a catch tray or inside a second tote. Our DIY tote guide shows the two-tote design.
Raise the bin
Lift the bin on bricks or blocks so drainage holes aren’t sitting in their own runoff.
Use a breathable cover
A sheet of cardboard or burlap on the bedding surface absorbs condensation that would otherwise drip back into the bin.
How long does it take?
Most bins improve noticeably within two to three days and are back to normal within a week or two. Check moisture daily with the squeeze test and add more dry carbon if it’s still dripping.
Preventing a wet worm bin
Add carbon with every feeding
A handful of shredded cardboard every time you add food keeps the balance right. This habit alone prevents most wet bins.
Feed the right amount
Overfeeding is the root of most moisture problems. Our feeding schedule shows how to build up safely.
Drain excess liquid from frozen scraps
Thawed food releases a lot of water. Drain it or mix it with dry bedding before adding. See our guide to freezing scraps.
Harvest regularly
Old bins full of castings hold more water. Harvesting and adding fresh bedding resets the balance. See how to harvest worm castings.
When wetness has caused other problems
A wet bin often brings friends:
- Smells: see worm bin smells
- Flies: see fruit flies in a worm bin
- Mites: see mites in a worm bin
- Worms escaping: see why worms leave the bin
Most of these clear up on their own once moisture is back in range.
A real example: rescuing a soggy tote
Imagine a 14-gallon tote where the owner added a lot of watermelon rind and thawed frozen scraps over two weeks. Water is pooling at the bottom, the bin smells sour and worms are lining the walls.
Here’s a sensible rescue:
- Hour 1: drain about a cup of liquid from the bottom. Remove the obvious mushy rind. Mix in about a third of a bin’s worth of dry, torn cardboard.
- Evening: lid off under a lamp for three hours, then lid back on.
- Day 2: squeeze test still gives a few drips. Add two more handfuls of dry cardboard.
- Day 4: the smell has faded. The squeeze test now gives a couple of drops. Worms are back in the bedding.
- Day 7: feed a small portion of drier scraps (banana peel and oats) mixed with cardboard.
By the second week the bin is back to normal. The lesson: watery foods and thawed scraps need extra carbon every time.
Further reading: Oregon State University Extension’s Composting with Worms (EM 9034) has a troubleshooting section for a wet worm bin, and NC State Extension’s Worms Can Recycle Your Garbage explains drainage.
Frequently asked questions
Is condensation under the lid a problem?
A little is normal. Heavy drips that fall back onto the bedding mean the bin is too wet or poorly ventilated. Add lid holes and dry bedding.
Can I use paper towels to dry a worm bin?
Unbleached paper towels without lotions or additives are fine. They work like newspaper: helpful, but they mat down, so mix them in loosely.
Will my worms die in a wet bin?
Some may, if it stays waterlogged for long, because they can’t get enough oxygen. Most recover quickly once the bin is dried out.
Can a worm bin be too dry after I fix it?
Yes. If you add a lot of dry material, check moisture after a few days and mist the surface if the squeeze test produces no drops.