
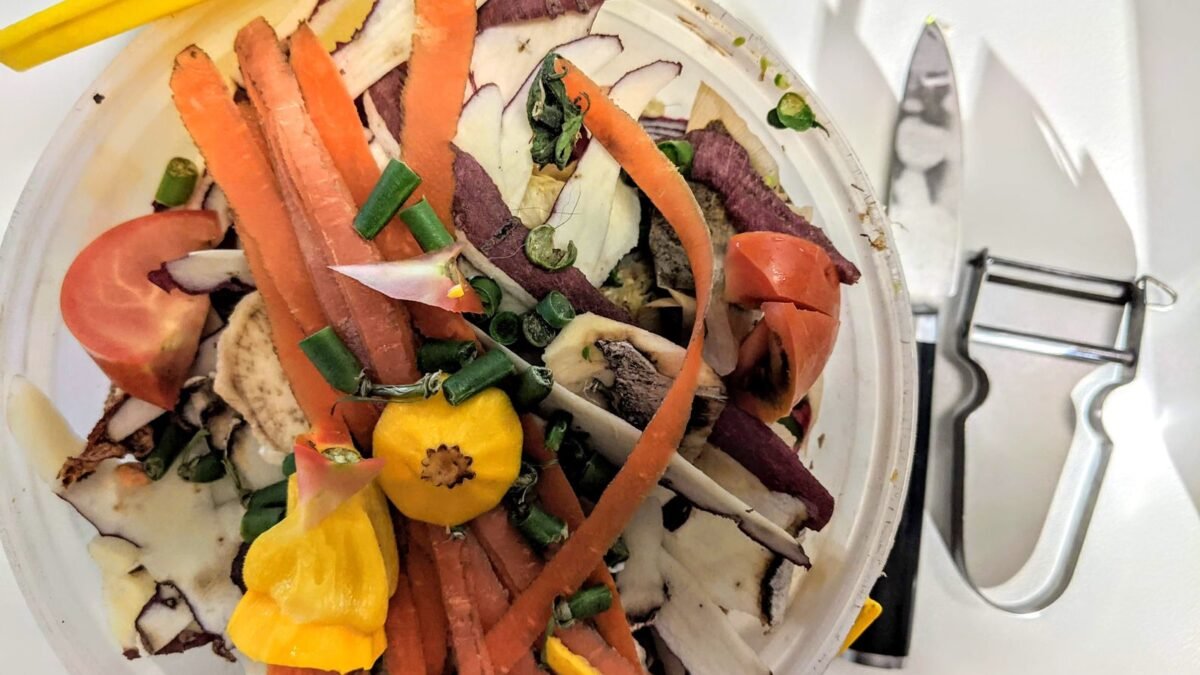
When you start a worm bin, it takes about an hour of work and a week of patience. The hour is easy. The patience is where most beginners go wrong, usually by feeding too much, checking too often or worrying when the worms do something perfectly normal.
This guide shows you how to start a worm bin step by step, then gives you a day-by-day plan for the first week so you know what to expect.
What you’ll need
- A container of 10–20 gallons (40–75 liters) that’s opaque and has a lid
- Bedding: shredded cardboard or newspaper, plus some coconut coir if you have it
- A handful of garden soil or finished compost
- About 1 pound (450 g) of red wiggler worms
- A small amount of soft food scraps
- A spray bottle and, ideally, a cheap probe thermometer
Step 1: Choose a container to start a worm bin
Worms want three things from their home: darkness, air and a stable temperature. Almost any opaque container can provide that, including plastic storage totes, wooden boxes and purpose-built stacking systems.
For a household of one or two people, a 10–14 gallon (40–55 liter) tote is plenty. Families producing more scraps should look at 18 gallons (70 liters) or a stacking tray system. Shallow and wide beats tall and narrow, because composting worms live in the top 6–10 inches (15–25 cm) of material. A common rule of thumb is one square foot (about 30 × 30 cm) of surface area for every pound of food scraps you produce in a week.
If you’re using a plastic tote, you’ll need to drill ventilation and drainage holes first. Our step-by-step plastic tote build shows exactly where. If you’re still deciding between materials, our guide to choosing worm bin materials compares plastic, wood and fabric.

Step 2: Pick a spot
Put the bin somewhere that stays between 59 and 77 °F (15–25 °C) most of the year. Good spots include a kitchen corner, a laundry room, a shaded balcony or a garage that doesn’t freeze. Avoid direct sun at all costs. A dark plastic bin in summer sun can pass 104 °F (40 °C) in an afternoon, which kills worms.
Keep it somewhere you’ll walk past daily. Bins tucked out of sight tend to get forgotten, and forgotten bins dry out.
 Related guideWorm Composting in an Apartment: A Small-Space Guide That Doesn’t Smell
Step 3: Prepare the bedding
Bedding is the worms’ home and the carbon half of their diet. Fill your bin about two-thirds full of loose, damp bedding. A simple mix that works well:
- 2 parts shredded plain cardboard or newspaper (avoid glossy print)
- 1 part rehydrated coconut coir
- A handful or two of garden soil or finished compost to add grit and helpful microbes
Soak the cardboard and coir in water, then squeeze out the excess. The finished mix should feel like a wrung-out sponge: damp all the way through, with only a drop or two of water when you squeeze a fistful. Our moisture guide explains the squeeze test in detail, and the bedding guide compares every common material.
Fluff the bedding as you add it. Worms need air pockets, and packed-down wet cardboard turns airless fast.
Work out quantities
Not sure how much bedding your bin needs? Our free bedding ratio calculator turns your bin size into exact amounts of cardboard, coir and water.
Step 4: Add the worms
Composting worms are not the same as the earthworms in your garden. You want red wigglers (Eisenia fetida), which live in rich surface litter and thrive in a crowded bin. If you’re unsure which species to buy, read our comparison of red wigglers and nightcrawlers.
Most people start with one pound, roughly 800–1,000 adult worms. That’s enough for a 10–14 gallon bin. For bigger bins, see how many worms you need to start.
Gently tip the worms and the material they arrived in onto the surface of the bedding. Leave the lid off with a light on overhead for 15–30 minutes. Worms avoid light, so they’ll burrow down on their own. Don’t dig them in.
Step 5: Give them a small first meal
Bury a small handful of soft scraps, about one cup, in one corner under 2 inches (5 cm) of bedding. Good first foods include banana peel, melon rind, cucumber ends, zucchini and lettuce. They’re soft, mild and break down fast.
That’s it. It will feel like too little. It isn’t. A new bin has very few of the bacteria and fungi that pre-digest food for worms, so most of a large first meal would rot before the worms could eat it. Our list of what worms can eat covers what’s safe as you expand their menu.
Your first week, day by day
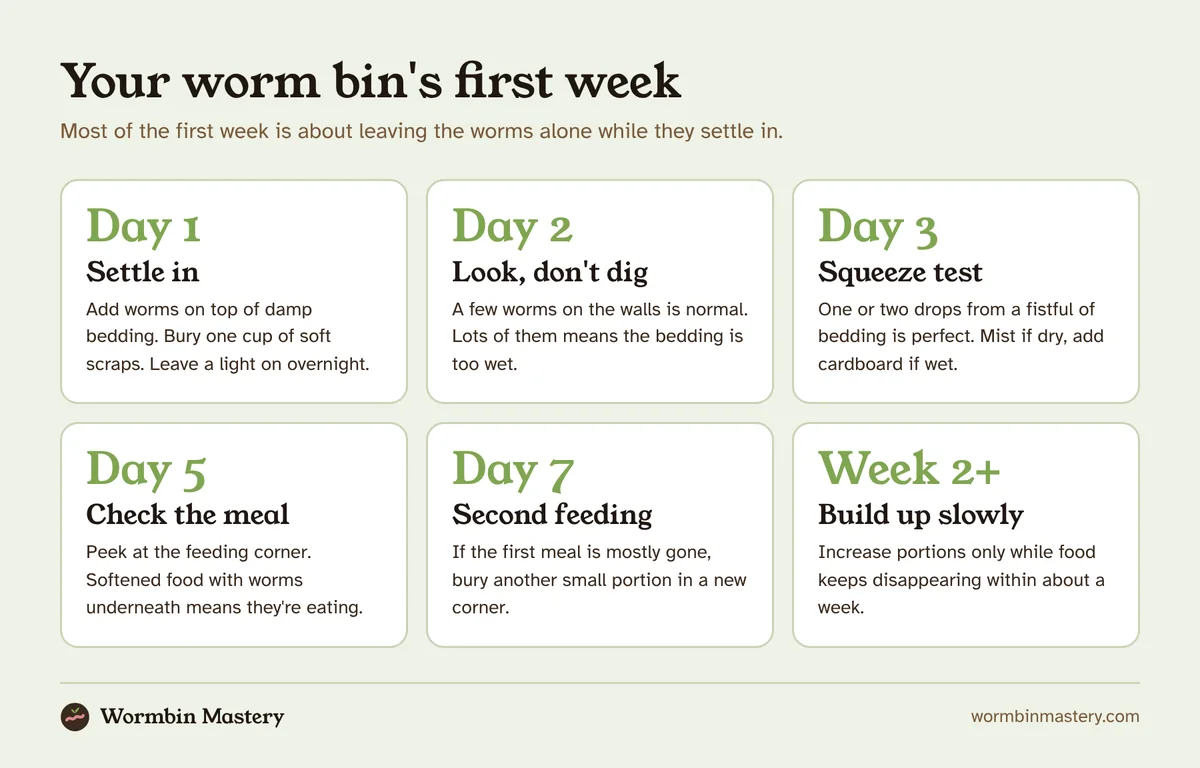
Day 1: Settling in
Leave a light on above the bin for the first night or two. New worms often explore, and some will try to leave. That’s stress from shipping and a new environment, not a sign anything is wrong. Light keeps them down in the bedding until they settle.
Day 2: Quick check, no feeding
Lift the lid and look, but don’t dig. You should see few or no worms on the surface. A few on the walls is normal. A large crowd trying to escape usually means the bedding is too wet. If so, mix in a couple of handfuls of dry shredded cardboard.
Day 3: Check moisture
Do a squeeze test on a handful of bedding from the middle. Mist the surface with your spray bottle if it’s drying out, or add dry cardboard if it drips. Don’t add food yet.
Day 5: Look at the first meal
Peek at the corner where you buried the food. If it’s soft and you can see worms gathered underneath, they’re eating. If it looks untouched, that’s fine too. Wait.
Day 7: Second feeding
If most of the first meal has softened or disappeared, bury another small portion in a different corner. Rotating feeding spots spreads the work and lets you check progress. From here, follow our guide on how often to feed worms to build up slowly over the next month.
Common first-week mistakes
Feeding too much
This is the number one problem with new bins. Uneaten food goes sour, the bin starts to smell, fruit flies arrive and worms try to leave. When in doubt, skip a feeding. Worms can go two to three weeks without new food because they eat their bedding and the microbes in it.
Bedding that’s too wet
Beginners often soak cardboard and dump it in without squeezing. Waterlogged bedding pushes out air, and worms either drown or climb the walls looking for oxygen. If water pools at the bottom, follow our wet bin fix.
Constant digging
It’s tempting to check on them every day. Each time you turn the bedding, you disturb their tunnels and the microbe colonies around their food. Look, don’t dig, for the first two weeks.
Choosing the wrong worm
Garden earthworms and fishing nightcrawlers usually die or escape in a bin. They’re built to burrow deep in mineral soil, not live in a shallow layer of rotting food.
What a healthy bin looks like after a week
By the end of week one you should see:
- Worms spread through the bedding, not bunched in one spot
- Food from the first feeding softened, with worms clustered under it
- No standing water at the bottom
- An earthy smell, like a forest floor, or no smell at all
If you notice a sour or rotten smell, read our guide to worm bin smells. For anything else that looks off, the worm bin health checker walks you through a quick diagnosis.
Over the next three to six months the bedding will slowly darken and break down into worm castings, the rich material you’re after. When it’s mostly dark and crumbly, follow our guide to harvesting worm castings.
Further reading: Oregon State University Extension’s free guide Composting with Worms (EM 9034) and the US EPA’s Composting at Home page are both good second opinions when you start a worm bin.
Frequently asked questions
How long does it take a new worm bin to get going?
Most bins take two to four weeks to settle. During that time worms adapt and microbes build up. Feeding capacity grows steadily after that, and a well-run bin can eat several times as much food by month three as it did in week one.
Can I start a worm bin with worms from my garden?
It’s not recommended. Most garden earthworms are soil-dwelling species that don’t tolerate the rich, crowded conditions of a bin. Red wigglers are surface dwellers adapted to exactly those conditions, which is why they’re the standard choice.
Do I need to add soil to a worm bin?
A handful of garden soil or finished compost helps by adding grit and microbes, but it isn’t essential. Too much soil makes the bin heavy and dense. Never use bagged potting mix with added fertilizer or wetting agents.
Should the lid be on or off?
Keep the lid on. It holds moisture in and keeps the inside dark. Ventilation holes provide air. The exception is a bin that’s too wet, where leaving the lid off for a few hours under a light helps it dry out.
Does a worm bin smell?
A healthy bin smells earthy or of very little. Bad smells nearly always come from overfeeding, too much moisture or protein-rich foods like meat and dairy. Fixing the cause usually clears the smell within a few days.


